Tuesday, May 14, 2019

Wit & Sarcasm Fun!

Hello crafty friends!  I'm on the Gypsy Soul Laser Cuts blog today sharing giggles, guffaws, and chuckles.

Generally, I'm the person who comes up with a snappy retort about 20 minutes after it was needed.  *sigh*  I admire people fortunate enough to have a quick wit.  For the rest of us, there are Susan's Wit & Sarcasm Flash Cards!  Ha ha.  I just made that up.  See? I *am* funny (or so I keep telling my husband...).


The base materials are Simple House OrnamentsArtist Trading Coins, and the 2.5 Inch Trading Coasters.  The construction process is pretty simple but I admit to agonizing over caption and image pairing.  I spent hours scouring the internet for free high resolution 50s housewife images and also bought a few pre-made downloads (those are much, much easier...).


I fussy-cut as many shapes as I could handle at one time.  This is really just carefully cutting with sharp scissors, good lighting, and reading glasses/magnifiers.  Seriously!  I perch drugstore 1.75 reading glasses on the end of my nose while I'm cutting and it is most helpful!

From a long list of collected sarcastic and witty comments, I choose according to the figure's "personality", printed on card stock and cut into strips.

Next, I coordinated the figure with the background papers and used Mod Podge/adhesive medium to adhere to the first side of the chipboard.  I gave that a few minutes to set up, then flush cut around the edges.  You can use another coordinating paper for the reverse/magnet side, and adhere the same way or paint the reverse side a fun color.


Next, adhere the figure and trim off the edges as needed. Don't worry about the rough edges at this point -- sanding is one of the last steps.  The coins can be cut with scissors.


Add the captions --tweezers and Zig glue pen are great for this-- and sand all the edges once that glue is dry.  Ink the edges and add magnet squares as needed.  Fun!


I have a stand at a weekly market and it has been a lot of fun watching people look through them, recognize themselves and friends, and whisper to each other about the captions.

Thanks for your visit today!

Gypsy Soul Laser Cuts Used
Simple House Ornament #C17O Set/2
Artist Trading Coins #D81M Set/3
2.5 Inch Trading Coasters #C23L Set/3

Other Supplies Used
Collage sheets from Alpha Stamps
Mod Podge
Assorted My Mind's Eye 6x6 paper pads
Sand paper
Brown ink for edges
Zig blue glue pen
Magnetic sheets cut to 1 1/2" squares (from Amazon)

Tuesday, April 23, 2019

There's A Cure

Hello crafty friends!  I'm on the Gypsy Soul Laser Cuts blog today sharing a tongue-in-cheek altered tin.


As a frame for the tin, I used the Altoids Fairy Tale Inserts.  This is a set of three, each with a two-part decorative label holder.  Here are the other two in the set:


For a textured surface, I tapped an embossing ink pad on the frame then sprinted embossing powder all over it (over a separate piece of paper so I could pour the excess back into the jar).


The heat gun worked it's magic and the embossing powder melted into a wonderful black and white textured surface.


I dabbed black paint onto the label frame surface, then used a brown brush pen to even out the color on the label's edges.


Attach the insert with a line of glue around the tin.


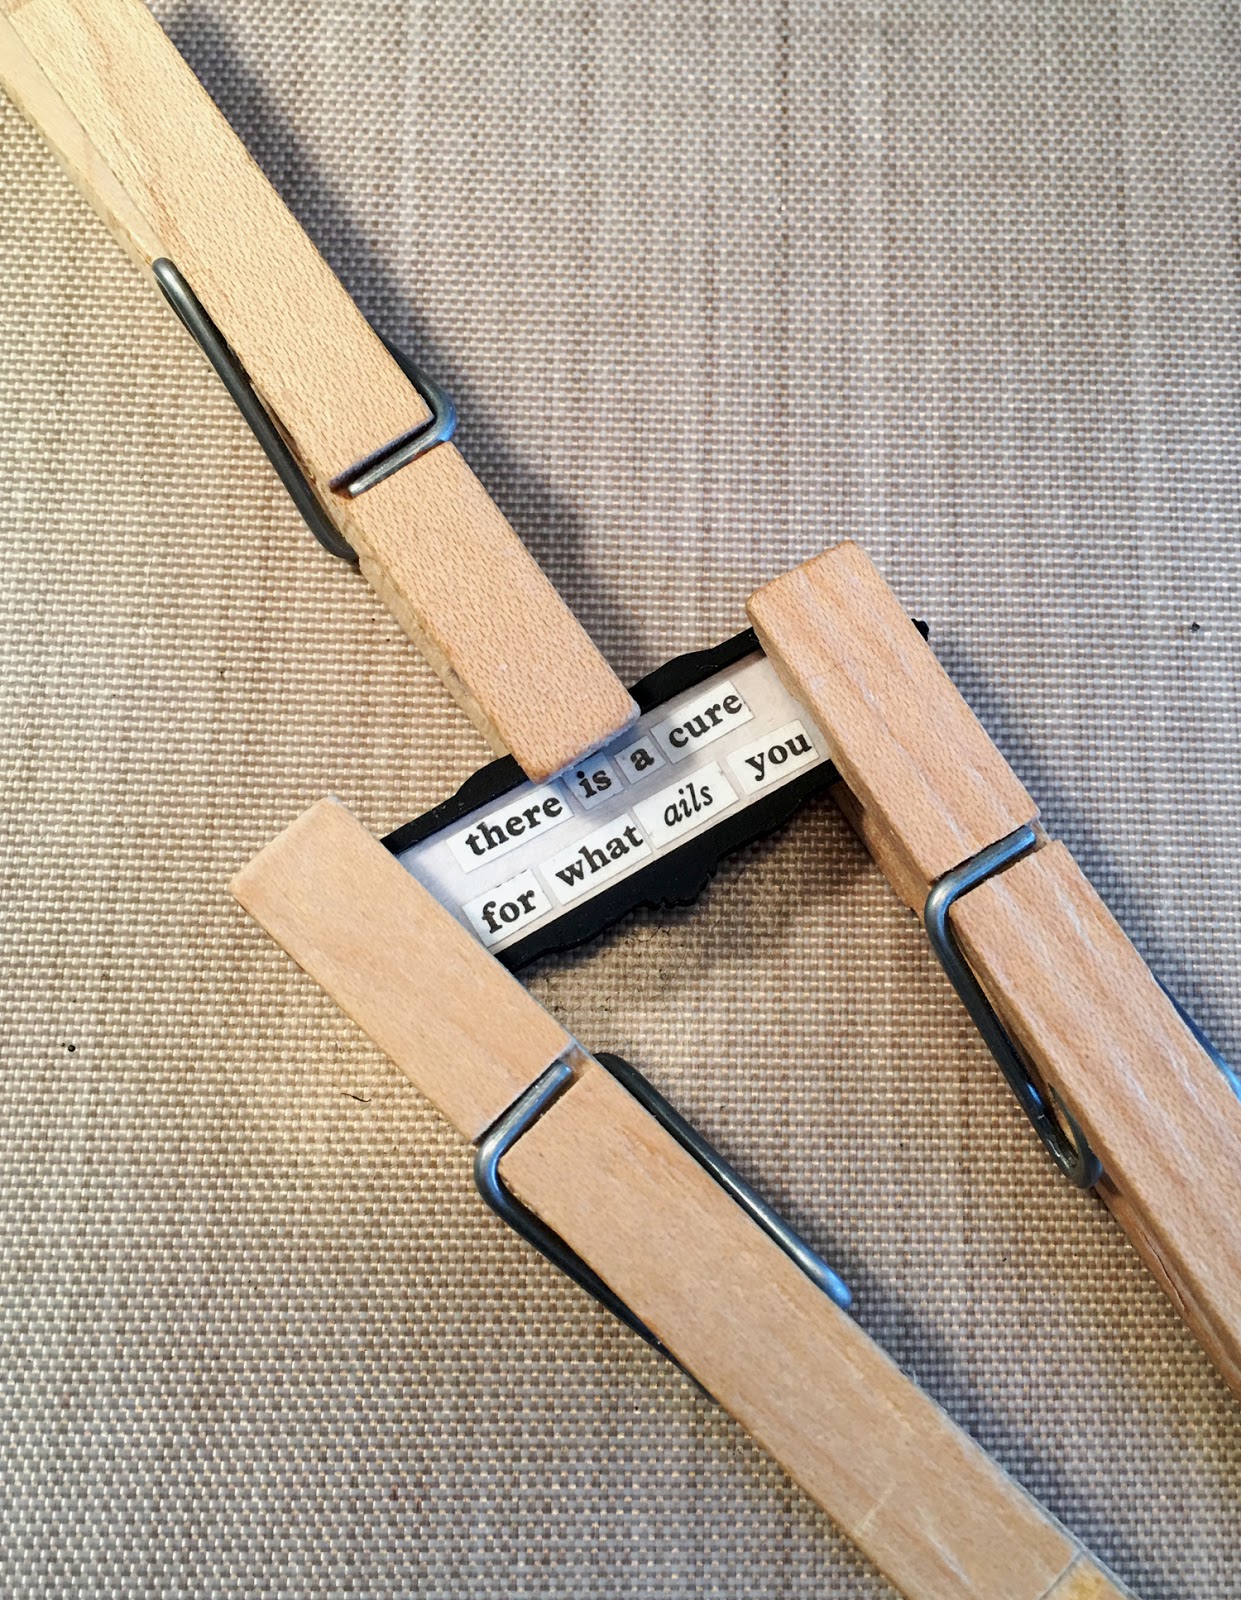
I used both parts of the label, and helped the glue set up with clothes pins.  Since the embossed surface is textured, I glued the label to the tin using strong E-6000.


I hope I haven't shocked you too much... I do like to raise eyebrows every once in a while!

Gypsy Soul Laser Cuts Used
Altoids Fairy Tale Inserts #YB23A

Other Supplies Used
Tim Holtz paper, washi tape, metal knob
Seth Apter Baked Texture - Rocky Road
Seth Apter Vintage Beeswax


Monday, March 4, 2019

I've Joined the Alpha Stamps Team!


I'm pleased as punch to announce that I'm now an Alpha Stamps design team member!  Alpha Stamps carries a huge line of supplies for your mixed media projects.  The collage sheet choices are astounding, plus there are all kinds of 3 dimensional bits and bobs to embellish your crafty life.

Check out the March Kit on the right sidebar --->   Each month AS has a new kit, and the design team  members show their take on it.  Sign up for the newsletter and you'll see our take on each month's theme, as well as get news on flash sales and the monthly giveaway.

Cheers!

Tuesday, November 13, 2018

Graphic 45 Tag Sampler

Hello crafty friends!  I'm on the Gypsy Soul Laser Cuts blog today.  I have to be honest, I started this Tags In A Box project without real focus.  I wanted to use scraps of Graphic 45 papers, things I prepared with fussy cutting or layering, yet never used. Once I started it, I quickly became underwhelmed by my efforts.  It was a good idea, but...  'meh' on execution.  It was way after midnight and I went to bed with 3 tag fronts laid out, thinking I was too far in to quit, but I needed to sleep on it.


In the morning over coffee, I wondered what I'd do with this project after it was completed.  Should I even continue?

Then I remembered Margo.  We met at a local monthly art & craft event.  My table that month held shadow boxes, embellished greeting cards, altered tins, and such.  We bonded over a love of Graphic 45 papers.  I see her every once in a while and each time we lament that we've never actually gotten together for crafty time.

Margo, this one's for you.  You breathed life into this project and gave it purpose.  Thank you.  I hope to see you at November's 3rd Friday!

****

Here is the base. You'll see I was rubbish at taking photos of the steps, but this should help a little.


The small piece in front allows you to display a tag without it sliding forward.  Pretty clever design, if you ask me.  The kit includes the base as well as 6 tags.  The tags are all roughly 4" x 8" and the box has a generous amount of room, so embellishments weren't a concern.

There's even an Extra Tag Set available if you want to fill it up!

I painted the inside black and covered the outside with Renaissance paper and black acrylic paint.


The tags were covered with background paper using Mod Podge.  The edges were sanded and then inked with brown marker and a foam pad.

Each tag was assembled with scraps of G45 and embellishments.  I used a small cut of gears from the Steampunk Frame to enhance the Steampunk Spells tag.  (Visible in the top photo.)  I used a mix of browns and black embossing powders on the gears.


Thanks for your visit today.

Cheers,
Susan


Gypsy Soul Laser Cuts Used
Tags In a Box Display #BD10A
Steampunk Frame #D20C

Wednesday, November 7, 2018

#Engage

Hi friends - Here's my latest project on the Gypsy Soul Laser Cuts blog, using the ATC Shrine Box.  Pop on over to see how I made it!


Thanks for your visit today!  --Susan

Gypsy Soul Laser Cuts Used


Monday, September 17, 2018

Apothecary Cabinet

Hello crafty friends! Today I'm sharing an apothecary cabinet made with one of the Gypsy Soul Laser Cuts' fabulous hinged boxes.  Come see the treasures inside!


This apothecary cabinet comes with a shelf for the center middle and a drawer for the center bottom -- I have left both of these out.  I glued the pieces together with white craft glue and allowed to dry.


I wanted the hinge holes set before I painted or papered (haven't decided which way to go yet).  I laid the hinges in place, marked the brad holes with a pencil, then used a tool to poke the holes.  I attached them to make sure the cabinet doors hung evenly, then removed for later use.


I measured the harlequin paper for the back center and painted all sides with black acrylic paint.


In this next photo I have attached the back harlequin paper and the door front/side papers.   This allowed me to attach the hinges permanently.  Now that it stands, I gathered bits and started the inside design.  During this, I realized I wanted to paper the insides.


The papers are cut and scored, but I added front door handle holes first.  (I didn't end up using the handles but was able to disguise the holes on the front with black Dresden trim.)


In this photo, I've added the inside papers with Mod Podge.  After that dried, I coated all sides with matte varnish.  Time to fill the shelves!


Front
The label on the tall bottle is a rub-on.  I carefully dabbed wet glue all over the glass bottle for a frosted effect.


Thanks for your visit today!  I hope you are inspired by all the designers over on the GSLC blog.

Gypsy Soul Laser Cuts Used
Apothecary Cabinet for Larger Bottles #C45AL

Other Supplies Used
White craft glue
Black acrylic paint
Designer scrapbook papers
Liquitex Varnish - Matte
Assorted bottles and bits
7 Gypsies labels rub-on
E-6000

Tuesday, August 14, 2018

"Study" Shadow Box

Hello crafty friends!  Over on the Gypsy Soul Laser Cuts blog today I have a peek into a curious person's study.  I don't know if a mad scientist lives here or just a collector of ... oddities.  I can only imagine what's tucked into corners all over the room!


Come visit to see the step-by-step for this box!

Cheers,
Susan