I have a bin of leftover chipboard parts. This is different from a bin of leftover parts from assembly of, say, a computer or a bicycle; that's usually bad. My parts bin holds pieces that are partially used but ultimately (gently) rejected for a project.
In this case, it's an ATC/ACEO from the sarcastic frenzy I was on a month or two ago. One side was ripped off just like this one here, and the other a pretty yellow design.

I've been dying to do a project with birds in hats (have you seen these Little Hats? So cute!) so off I went.
It didn't go so well.
I wanted the hint of a musical background, so I pulled out a fine clear embossing powder and musical notes stamp. Turned out the stamp details are way too tiny for embossing powder. then I tried a larger musical stamp with a light brown embossing powder. Fail.

I went back to the drawing board, or in this case, the paper pad with the yellow paper. Instead, I found this music note paper and heard a choir of angels sing! It had nothing to do with my state of overtiredness and mild frustration. Really. Ok. I might've been imagining it.

In mere minutes I Mod Podge'd over both sides and adhered the musical notes paper and it's coordinating reverse on each side. Once the papers were dry, I used a straight edge to cut off the excess.
I used the same Mod Podge to attach the three elements. (The bird was a fiddly and wouldn't wear a hat, so I gave up on that idea.)
Once those layers were dry I cleaned up the edges with sandpaper, painted them with Archival Brilliance Galaxy Gold and Coffee Bean inks, then finished with a matte varnish.


Thanks for your visit today!
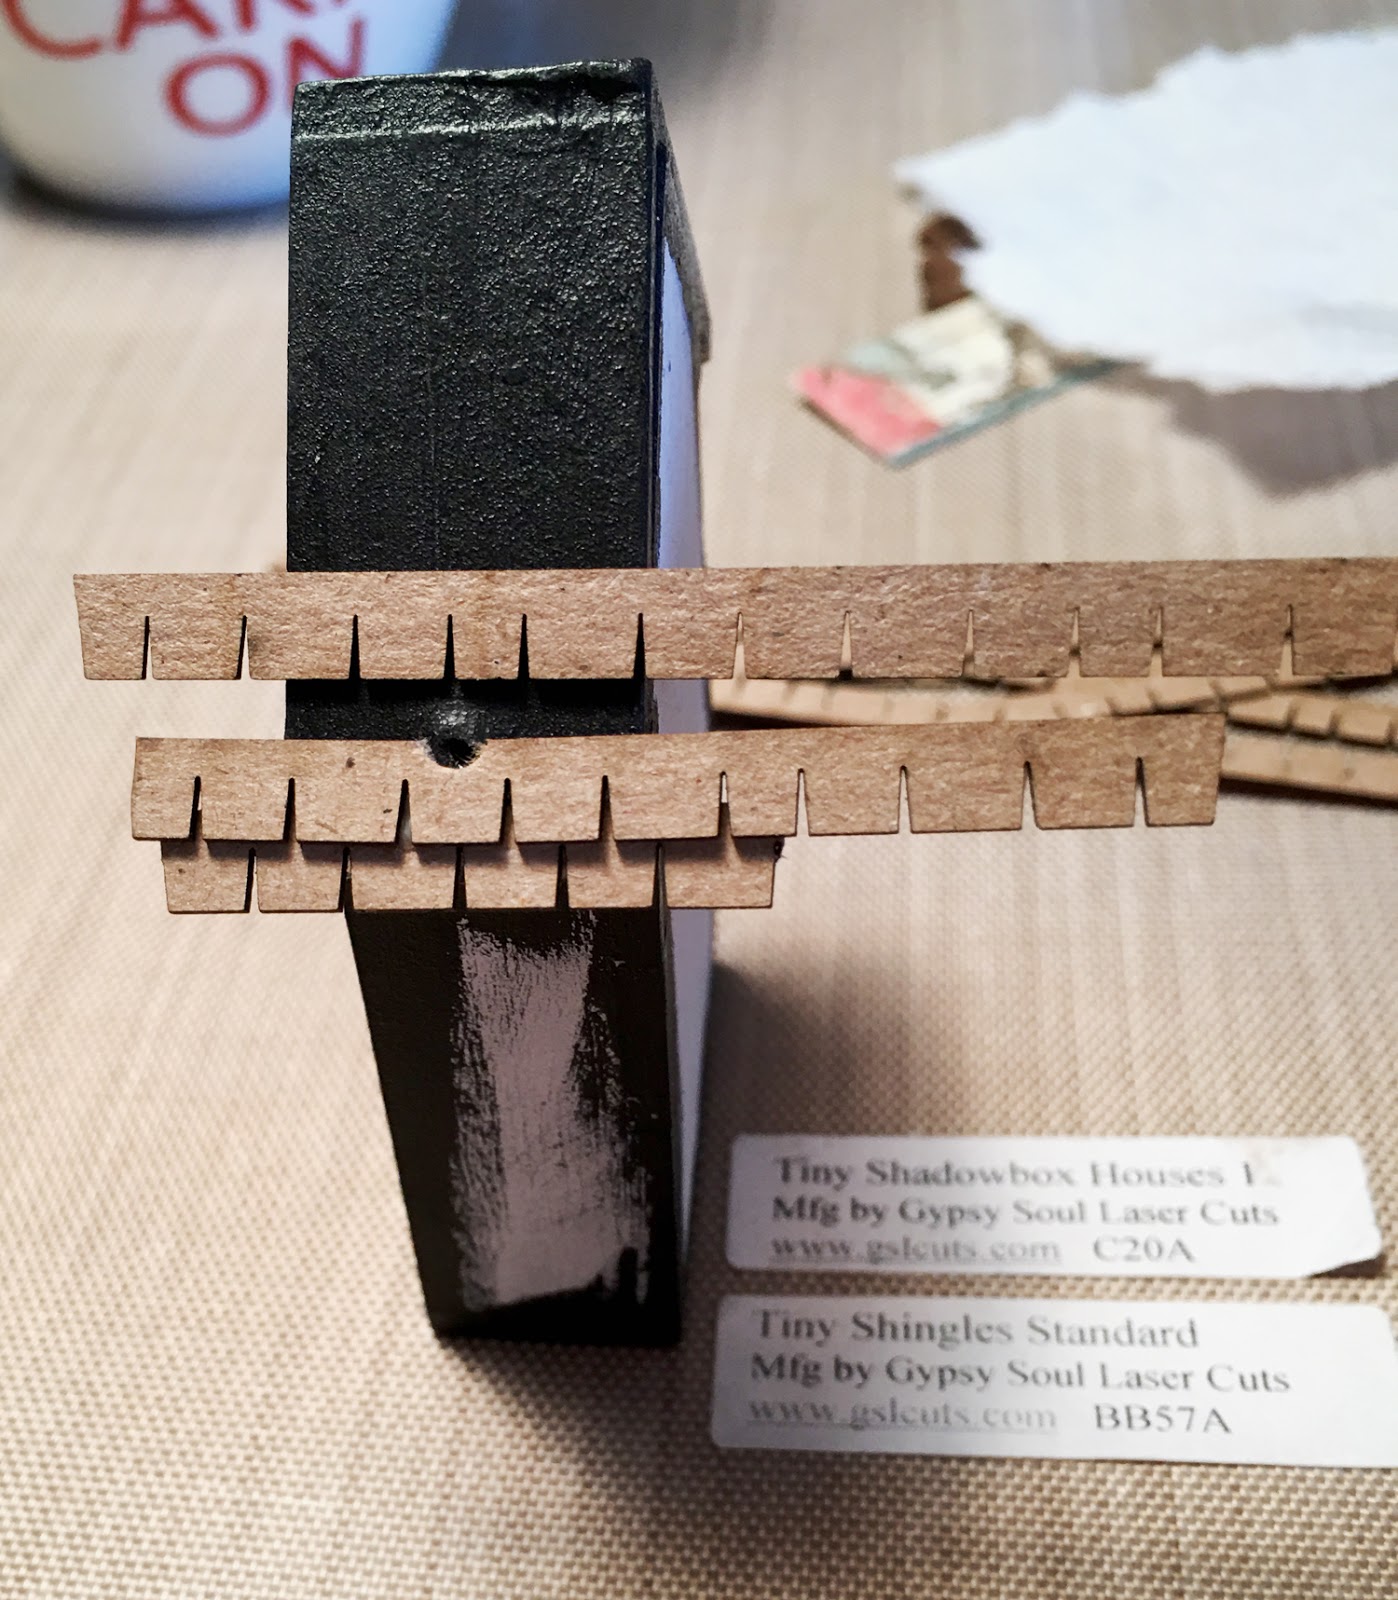
Gypsy Soul Laser Cuts Used
Other Supplies Used
MME /Lost & Found/ Sunshine 6x6 paper
K & Co Brenda Walton Design Elements
1/8" snap-together letter stamps
Archival Brilliance - Coffee Bean Ink
Liquitex Basics matte varnish
Mod Podge - matte