
Allow me to reveal all...
This "secret" key had been hanging around my stash for at least 5 or 6 years (if not more). I had the chance recently to work with Stamperia's 'Time is an Illusion' paper, and set aside a small image of a woman's face. I figured it could be a big element of a small project... then I found the key. Bingo.

I started with the GSLC Tiny Little Shadowbox Houses #1. This comes as a set of two houses.

I gave it a coat of white gesso first. I thought at first I'd do a light base color, hence the white gesso. I quickly decided to go dark, and repainted the seams with black. (I took the photo after the shingles were added, so ignore them for a minute.)

Aaand a minute's up! It's shingle time. I used Tiny Shingles - Standard, alternating the seams. (At this point, I thought I would hang something from the roof, but ended up skipping it and covering the hole.)
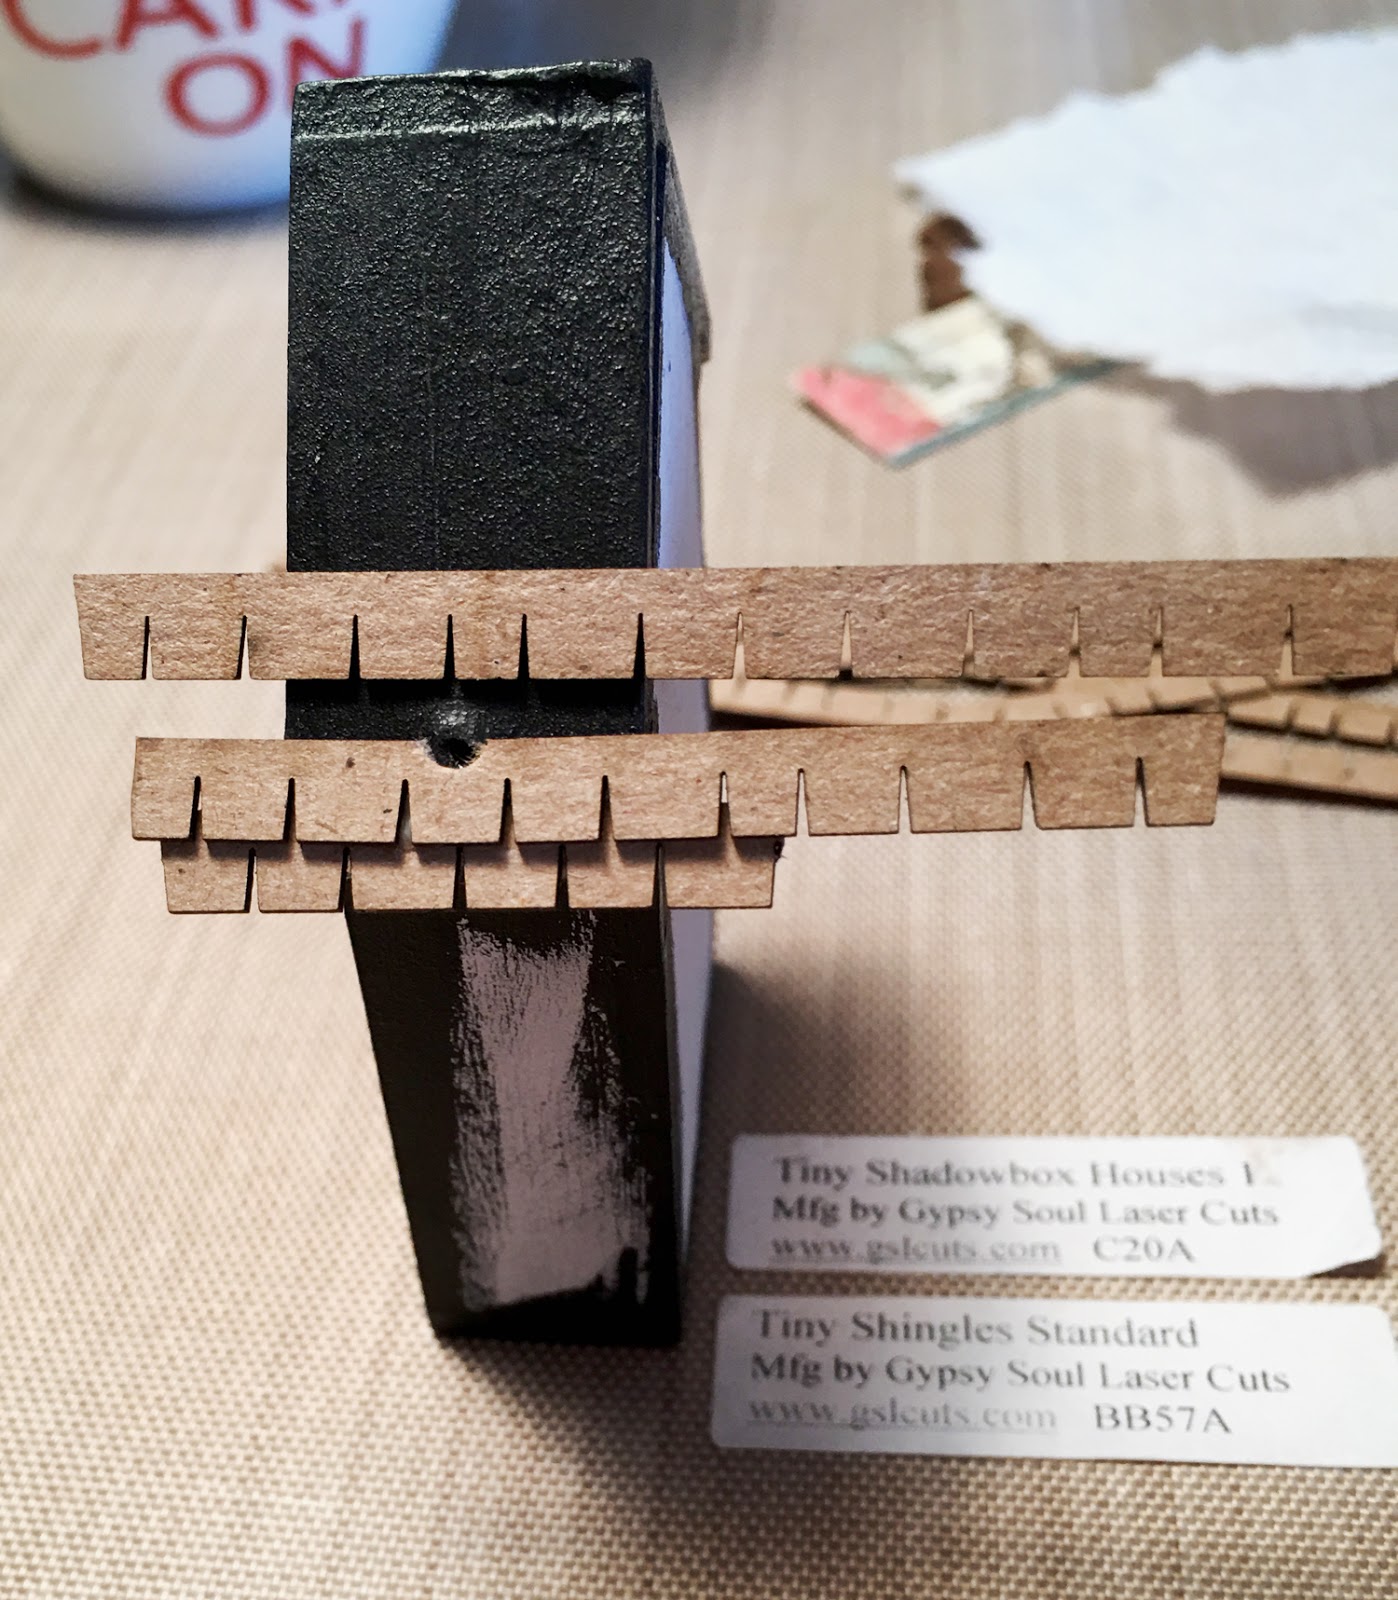
Once one side was fully shingled, I added shingles to the other side but left the last one off to give the scissors room to trim. Before cutting, it's best to allow the glue to dry completely overnight. Trim the shingles on both sides, then add the final layer. I held that final piece in place until the glue set up, in order to ensure there wasn't a gap at the top. Once dried, I trimmed that one, too.


The keyhole got a coat of Lumiere brown metallic paint, then I lightly swooshed my finger across the high details with a little copper metallic paint. It took a few swooshes to get the coverage I wanted.


By this time in my project, the papers are adhered with modge podge, except the inside bottom. The night before, I used E-6000 to attach the painted black base to the shadowbox, with the intention of adding the final paper once the E-6000 dried. The next day I realized the weight of the key would have made this top-heavy with such a small base, so I added a metal washer and wider wood. Once that cured overnight, I painted with black gesso then acrylic.
I'll share a secret with you: I use the washer trick a lot. I really makes a difference for the stability of shadow boxes, altered Altoids tins, and the like. Plus, layering wood bits in this way helps give projects their own uniqueness.


Now, back to the face image... I love that she's right behind the key. Does she have secrets, or is she the secret?


Thanks for your visit today!
Cheers
Susan
Gypsy Soul Laser Cuts Used
Tiny Little Shadowbox Houses 1 - #C20A
Tiny Shingles Standard BB57A
Keys Engraved D12Q - coming soon
Other Supplies Used
Stamperia Time Is An Illusion
black gesso
black acrylic paint
wood bits
E-6000
TH "secret" metal key
Tiny eye screw
White glue
Black twine
Metallic paints
Pilot gold marker
Tiny gold balls
1 comment:
Susan, I love this! So clever and adorable.
Post a Comment