Wednesday, June 19, 2019

Atelier: Mini Sewing-Themed Album

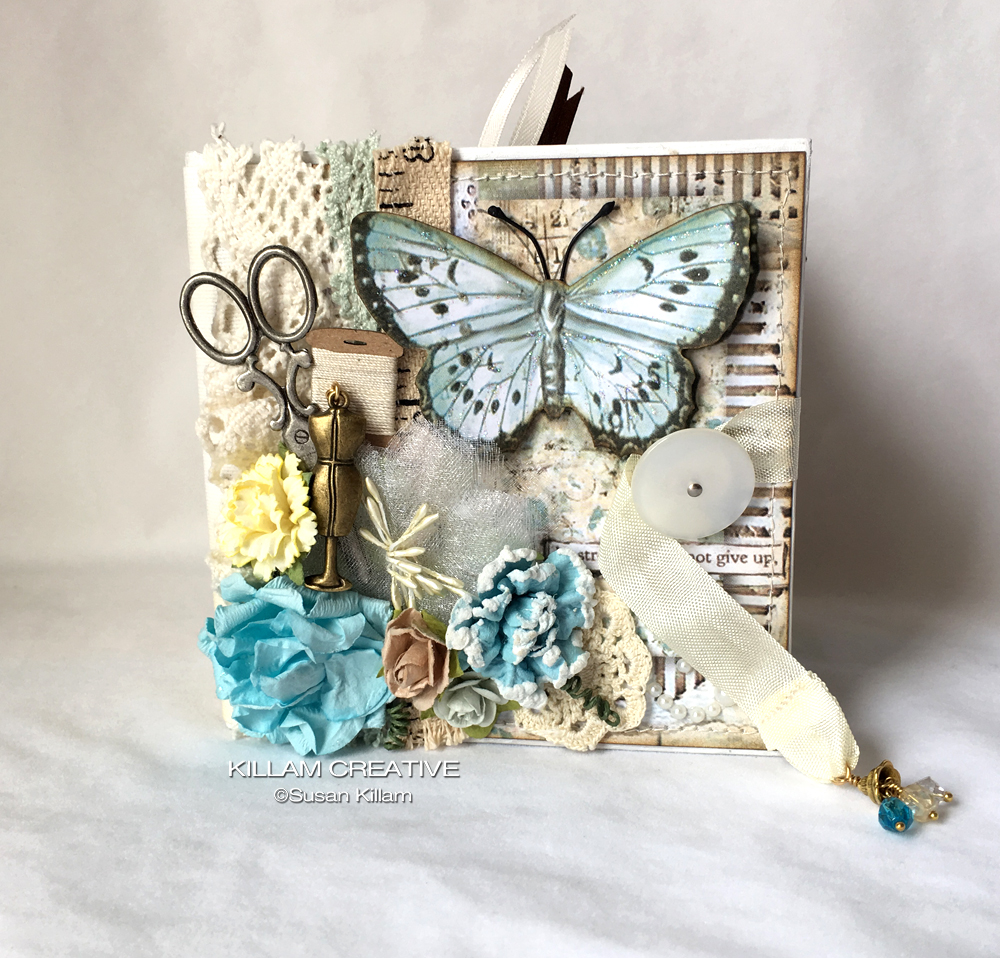
Hello creative friends!  I have an Alpha Stamps project to share with you today, made with gorgeous paper and a wee 4-inch chipboard album.

There's a feeling of nostalgia and comfort that comes from vintage sewing artifacts and ephemera.  I've collected enough bits and bobs over the years to have a vintage-sewing-themed guest bedroom, including an old singer treadle machine as a side table.

I was thrilled to see Stamperia's Atelier paper pad, a beautiful nod to seamstresses everywhere.  I couldn't wait to work with it.

Don't get me wrong - I am NOT a seamstress.  Funny story - when we lived in Pennsylvania, my husband and I hosted an annual Christmas party for a few neighbor friends.  There were a total of 4 couples and we did a funny gift exchange.  One year I made fleece pajama pants for everyone.  We had the weekend morning habit of wandering to someone's house for porch coffee -- usually in pajamas --  so I bought a pattern and matched the fleece designs to their personalities as best I could.  I sewed for months.  I was relieved when the last pair was finished, and tickled when everyone put them on at the party.  Needless to say, I haven't made a garment again.  It was fun to walk out my door and see those jim-jams that winter, though.

I mostly use my sewing machine on paper now, as you can see on each page of this tiny album. 


I loved working with this Memory Hardware Tiny Chipboard Album.  Leslie, our fearless Alpha Stamps leader, knew I wanted to embellish the heck out of this paper so she searched high and low for the perfect base.  Thanks Leslie!


The spine is white sticky canvas with a few coats of matte varnish to give it more structure and keep from fraying.  I supplemented the sticky back with white glue, just in case...


Let's take a peek inside!


The dress form on the right is great on it's own, so I only outlined it with a silver star jelly roll pen to give it a little sparkle.


Once they can no longer be worn, my husband gives me his old silk suspenders to reuse.  The collection of fabric "shirting" samples are actually very old quilt blocks that came in a large vintage sewing auction lot I won a few months ago.  These are my favorite pages of the whole album.


This is a small sampler of crochet laces.  I found the celluloid thread cutter in that auction box, also.


The dress form and thread top are just a few in the Atelier paper pad.  I wrapped brown ribbon around the waist and sewed a blue button with a lace scrap onto it.


A few notes on construction.  I painted the album edges white, and added linen hinging tape between each page to give a fabric-y look without adding any bulk.  It coordinates with the white canvas I used on the spine.


To help pick out a specific part of a paper design, I cut a piece of acetate to fit my item (in this case, the front and back covers), then hovered it over different designs until I find the perfect one.  After the outside was done, I trimmed the acetate to fit the pages, then set it aside for the next project.


There is a fair amount of hand sewing here, including the large mother-of-pearl button closure.  I punched two holes in the chipboard before covering with papers and added the button at the end.  That message was appropriate since I poked my fingers a few times... ouch.


The suspenders were added before the page was attached to the book.  I sewed the buttons on and attached the suspenders part with a zig-zag stitch mirroring the one on the fabric.


The dress form charm dangles on a sturdy eye pin from the jewelry section of a craft store.  I used cream seam binding for the closure.  The other end is glued between the inside back cover paper and the chipboard. 

Thanks for your visit today!  A complete Alpha Stamps supply list for this project can be found HERE!

Cheers
Susan

Tuesday, June 11, 2019

A Secret

Hello crafty friends!  I'm over on the Gypsy Soul Laser Cuts blog today with this wee house of secrets.  I'm fascinated by the secrets people keep, from big whoppers to little things that can cause big misunderstandings.  I'm all for honesty and communication, even when it's hard.

Allow me to reveal all...

This "secret" key had been hanging around my stash for at least 5 or 6 years (if not more).  I had the chance recently to work with Stamperia's 'Time is an Illusion' paper, and set aside a small image of a woman's face.  I figured it could be a big element of a small project... then I found the key.  Bingo.


I started with the GSLC Tiny Little Shadowbox Houses #1.  This comes as a set of two houses.


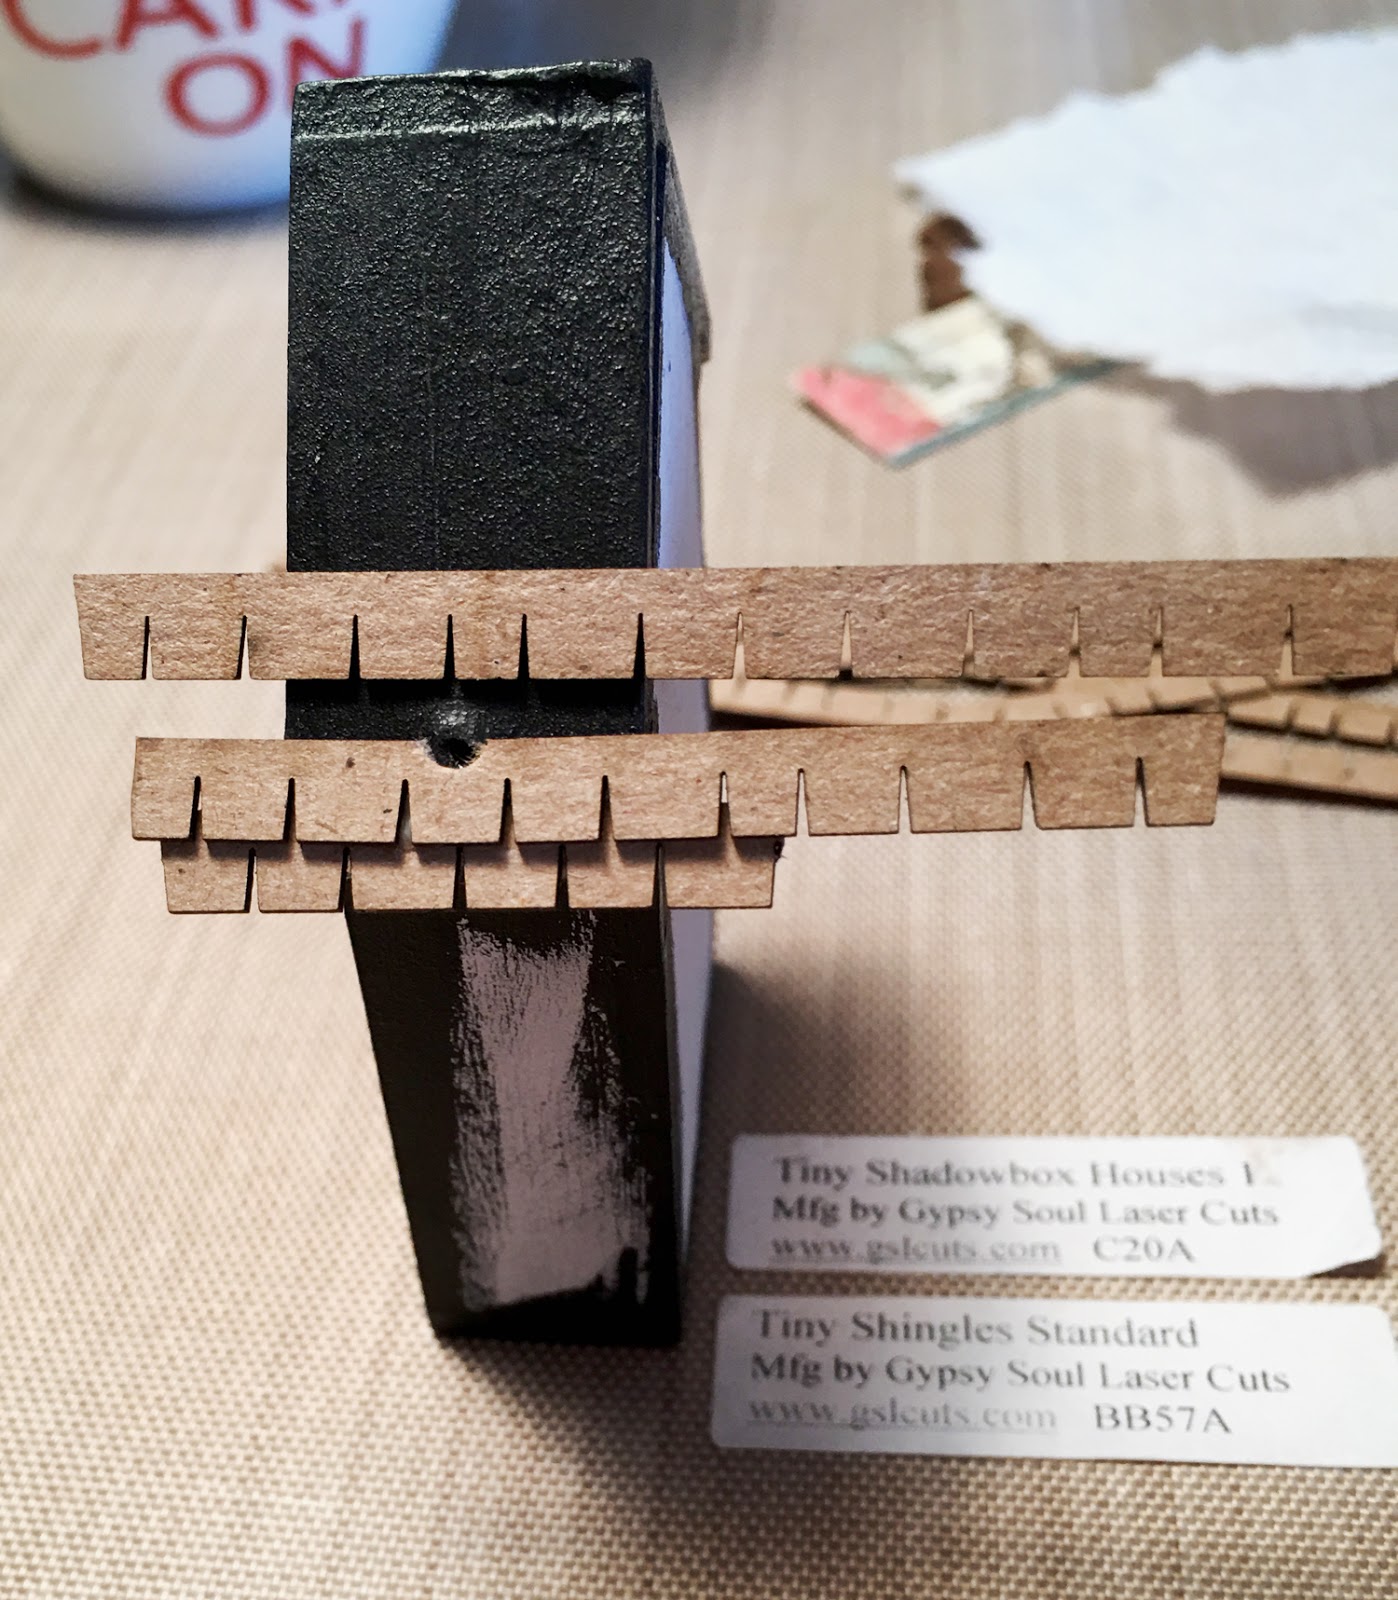
I gave it a coat of white gesso first.  I thought at first I'd do a light base color, hence the white gesso.  I quickly decided to go dark, and repainted the seams with black.  (I took the photo after the shingles were added, so ignore them for a minute.)


Aaand a minute's up!  It's shingle time.  I used Tiny Shingles - Standard, alternating the seams.  (At this point, I thought I would hang something from the roof, but ended up skipping it and covering the hole.)

Once one side was fully shingled, I added shingles to the other side but left the last one off to give the scissors room to trim.  Before cutting, it's best to allow the glue to dry completely overnight.  Trim the shingles on both sides, then add the final layer.  I held that final piece in place until the glue set up, in order to ensure there wasn't a gap at the top.  Once dried, I trimmed that one, too.


The keyhole got a coat of Lumiere brown metallic paint, then I lightly swooshed my finger across the high details with a little copper metallic paint.  It took a few swooshes to get the coverage I wanted.


By this time in my project, the papers are adhered with modge podge, except the inside bottom.  The night before, I used E-6000 to attach the painted black base to the shadowbox, with the intention of adding the final paper once the E-6000 dried.  The next day I realized the weight of the key would have made this top-heavy with such a small base, so I added a metal washer and wider wood.  Once that cured overnight, I painted with black gesso then acrylic.

I'll share a secret with you:  I use the washer trick a lot.  I really makes a difference for the stability of shadow boxes, altered Altoids tins, and the like.  Plus, layering wood bits in this way helps give projects their own uniqueness.


Now, back to the face image... I love that she's right behind the key.  Does she have secrets, or is she the secret?


Thanks for your visit today!

Cheers
Susan

Gypsy Soul Laser Cuts Used
Tiny Little Shadowbox Houses 1 - #C20A
Tiny Shingles Standard BB57A
Keys Engraved D12Q - coming soon

Other Supplies Used
Stamperia Time Is An Illusion
black gesso
black acrylic paint
wood bits
E-6000
TH "secret" metal key
Tiny eye screw
White glue
Black twine
Metallic paints
Pilot gold marker
Tiny gold balls


Tuesday, May 28, 2019

Working Skeletons

Hello crafty gypsy friends!  I'm over on the Gypsy Soul Laser Cuts blog today sharing a little skellie triptych made with the Arch Top House Silhouettes.


The first thing I did was match the personality of my three skeletons with paper bits, outlined them with pencil and cut out.


I lined up the silhouettes with about 1/4-inch between them and added Linen Hinge Tape on each side.

A scoring tool or some such thing will help adhere the linen tape strips to each other.


I added black gesso on the edges and on the linen tape, then used matte medium to adhere the paper to each side.


A gold marker on the edges for a little pizazz.


The Funeral Director
The Pharmacist
The Auctioneer
Thanks for your visit today!

Cheers,
Susan

Gypsy Soul Laser Cuts Used
Arch Top House Silhouettes

Other Supplies Used
Tim Holtz Halloween Paper 8x8
Black gesso
Dresden trim
Antikamnia Calendar skeletons
Gray and black watercolor pencils
Matte medium

Tuesday, May 14, 2019

Wit & Sarcasm Fun!

Hello crafty friends!  I'm on the Gypsy Soul Laser Cuts blog today sharing giggles, guffaws, and chuckles.

Generally, I'm the person who comes up with a snappy retort about 20 minutes after it was needed.  *sigh*  I admire people fortunate enough to have a quick wit.  For the rest of us, there are Susan's Wit & Sarcasm Flash Cards!  Ha ha.  I just made that up.  See? I *am* funny (or so I keep telling my husband...).


The base materials are Simple House OrnamentsArtist Trading Coins, and the 2.5 Inch Trading Coasters.  The construction process is pretty simple but I admit to agonizing over caption and image pairing.  I spent hours scouring the internet for free high resolution 50s housewife images and also bought a few pre-made downloads (those are much, much easier...).


I fussy-cut as many shapes as I could handle at one time.  This is really just carefully cutting with sharp scissors, good lighting, and reading glasses/magnifiers.  Seriously!  I perch drugstore 1.75 reading glasses on the end of my nose while I'm cutting and it is most helpful!

From a long list of collected sarcastic and witty comments, I choose according to the figure's "personality", printed on card stock and cut into strips.

Next, I coordinated the figure with the background papers and used Mod Podge/adhesive medium to adhere to the first side of the chipboard.  I gave that a few minutes to set up, then flush cut around the edges.  You can use another coordinating paper for the reverse/magnet side, and adhere the same way or paint the reverse side a fun color.


Next, adhere the figure and trim off the edges as needed. Don't worry about the rough edges at this point -- sanding is one of the last steps.  The coins can be cut with scissors.


Add the captions --tweezers and Zig glue pen are great for this-- and sand all the edges once that glue is dry.  Ink the edges and add magnet squares as needed.  Fun!


I have a stand at a weekly market and it has been a lot of fun watching people look through them, recognize themselves and friends, and whisper to each other about the captions.

Thanks for your visit today!

Gypsy Soul Laser Cuts Used
Simple House Ornament #C17O Set/2
Artist Trading Coins #D81M Set/3
2.5 Inch Trading Coasters #C23L Set/3

Other Supplies Used
Collage sheets from Alpha Stamps
Mod Podge
Assorted My Mind's Eye 6x6 paper pads
Sand paper
Brown ink for edges
Zig blue glue pen
Magnetic sheets cut to 1 1/2" squares (from Amazon)

Tuesday, April 23, 2019

There's A Cure

Hello crafty friends!  I'm on the Gypsy Soul Laser Cuts blog today sharing a tongue-in-cheek altered tin.


As a frame for the tin, I used the Altoids Fairy Tale Inserts.  This is a set of three, each with a two-part decorative label holder.  Here are the other two in the set:


For a textured surface, I tapped an embossing ink pad on the frame then sprinted embossing powder all over it (over a separate piece of paper so I could pour the excess back into the jar).


The heat gun worked it's magic and the embossing powder melted into a wonderful black and white textured surface.


I dabbed black paint onto the label frame surface, then used a brown brush pen to even out the color on the label's edges.


Attach the insert with a line of glue around the tin.


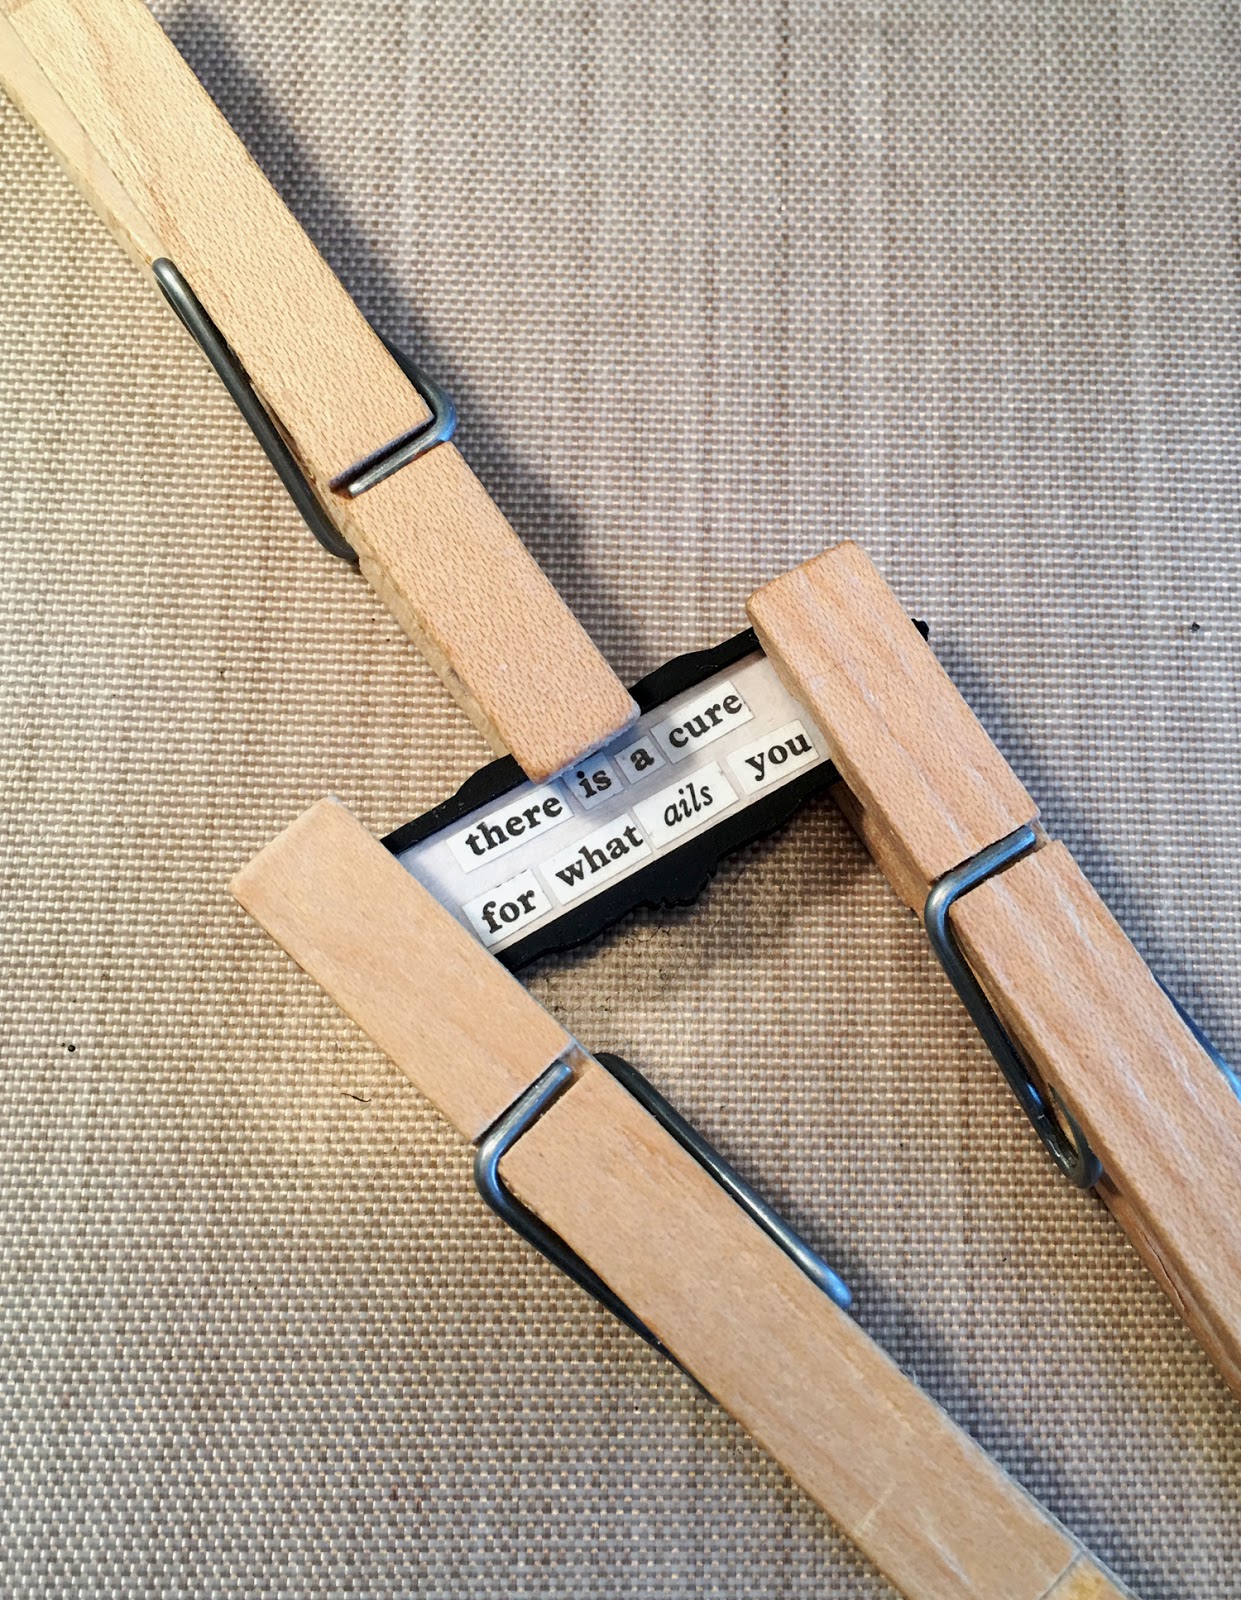
I used both parts of the label, and helped the glue set up with clothes pins.  Since the embossed surface is textured, I glued the label to the tin using strong E-6000.


I hope I haven't shocked you too much... I do like to raise eyebrows every once in a while!

Gypsy Soul Laser Cuts Used
Altoids Fairy Tale Inserts #YB23A

Other Supplies Used
Tim Holtz paper, washi tape, metal knob
Seth Apter Baked Texture - Rocky Road
Seth Apter Vintage Beeswax